Kast Kreation's Blogspot Ver. 2.0 is now live!
Took a little time out of our busy schedule to give the blog a nice new look.
Riddler Spotted!
Kast Kreation's work spotted at local con! Check out the Riddler cane build.
New Items In The Shop
Stop into the shop and check out the cool Ghostbusters stuff we have in there.
Wednesday, March 13, 2013
Completed Commission
Took on a commission for a good friend of ours Chad, who had quite a bit of Warmachine Retribution he needed done for a upcoming tournament. This army included 23 small models and one colossal. We had a lot of fun with these guys, mixing a completely custom color to really make his army pop. After Chad received his army today he was was so thrilled he treated us to pizza, which was delicious. Here are some shots of it on the table right before he used it to wipe the table clean of his enemies =P
Labels:
Commission,
Cooper,
retribution,
Shawn,
warmachine
Wednesday, January 16, 2013
Infinity Terrain Factory Build

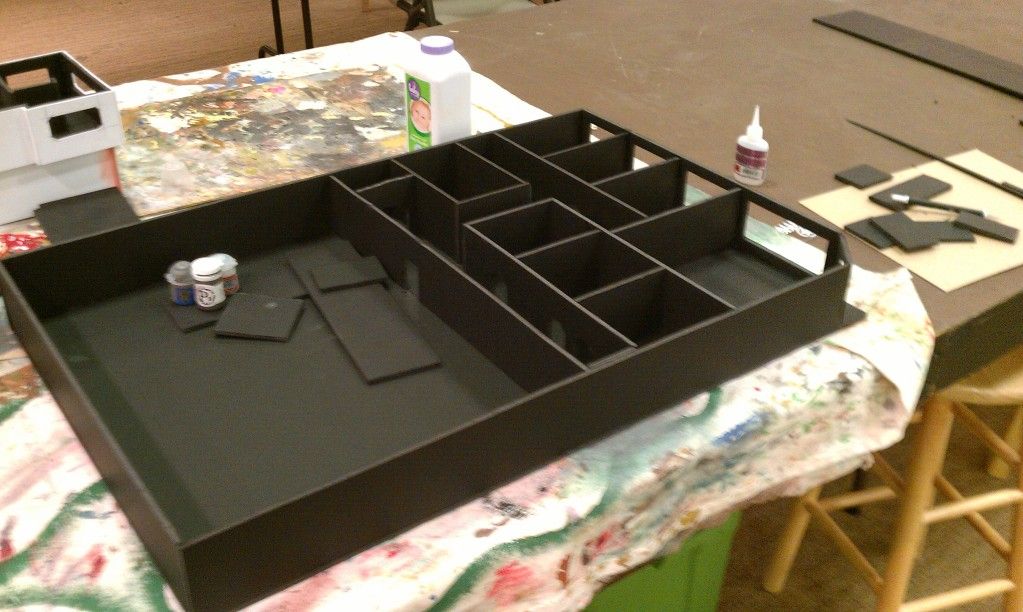
We got overzealous once again and decided to see how large of a building we could actually construct. After a great deal of cutting of foam board, cursing, and dulled exacto blades we finished the first floor. Two lessons learned: ALWAYS PLAN YOUR BUILD AHEAD OF TIME. Also: cut windows and doors into the walls BEFORE gluing them in place. Trust me on this.
Tuesday, January 15, 2013
Infinity Terrain Vendor Booth
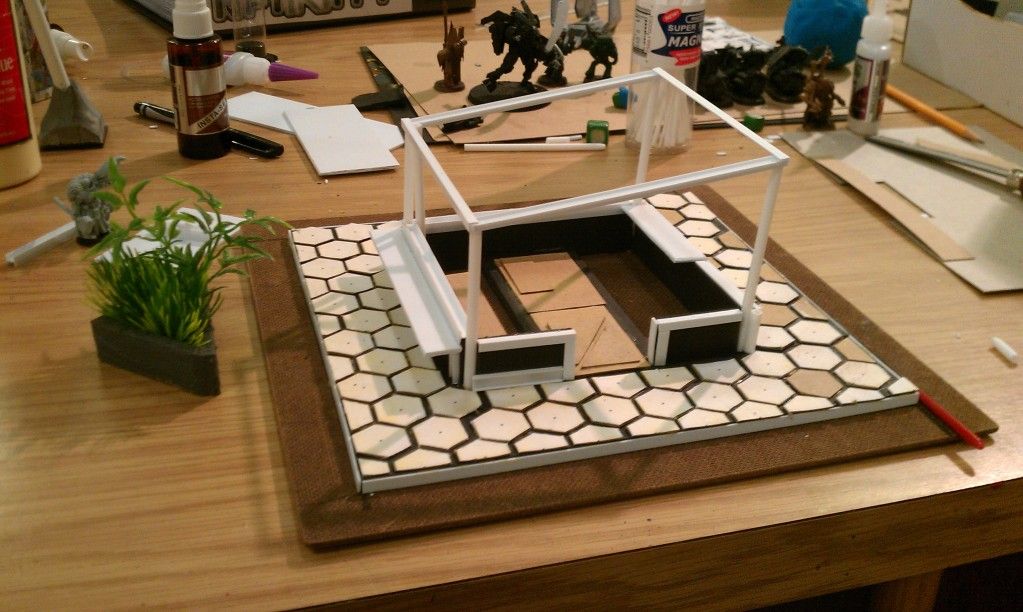
Unfortunately I don't have any WIP shots of this, as I didn't know we actually had a blog until fairly recently. The base of this piece is a 1'x1' square of MDF board. The step is made from foam board edged in plasticard strips. The booth itself is a foam board skeleton edged in plasticard. The most time-consuming part by far were the hexagonal paving stones. They were made by gluing a hex gridded paper to cardstock and cutting them out with a pair of scissors. Monotonous, but worth it. Nothing says 'It's the future.' like hexagonal paving stones.
This piece has since been primered grey and is awaiting its turn at the airbrush station. I plan on printing out an awning on regular printer paper, coating it with watered down PVA and draping it over the struts.
Labels:
Cooper,
Infinity,
Scratch Build,
terrain
Malifaux Train Station
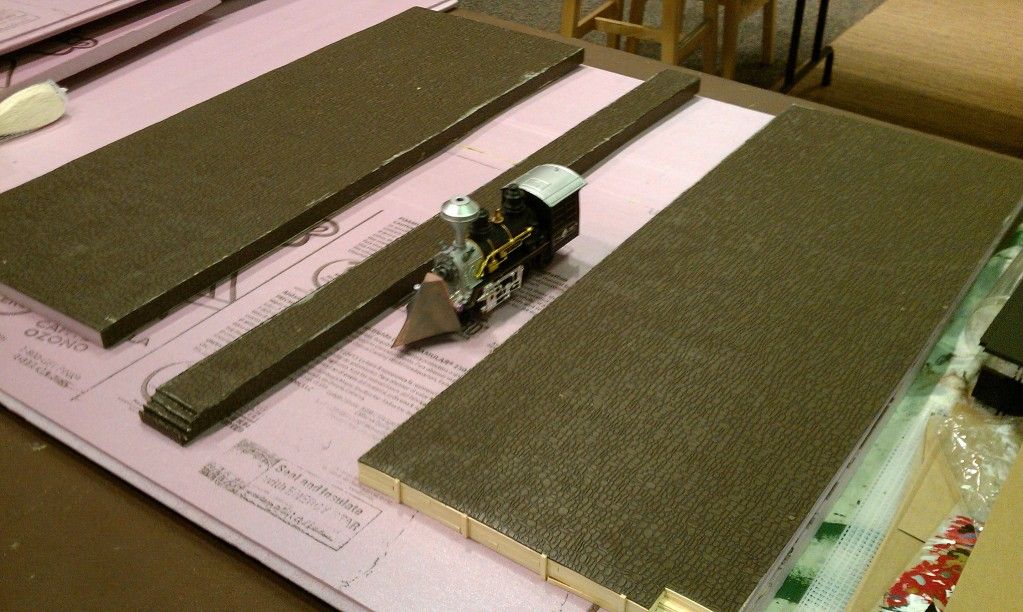
First we started with a 3x3 sheet of pink foam, adding two platforms on either side and a divider in the middle also with pink foam. We then covered the platforms and divider with a cobblestone mat that was purchased from Michael's the mat was first affixed with wood glue but the back of the mat was too glossy and pealed up, so we decided liquid nails would be much better. And it was.
Labels:
Malifaux,
Scratch Build,
Shawn,
terrain,
Train Station
Subscribe to:
Posts (Atom)


